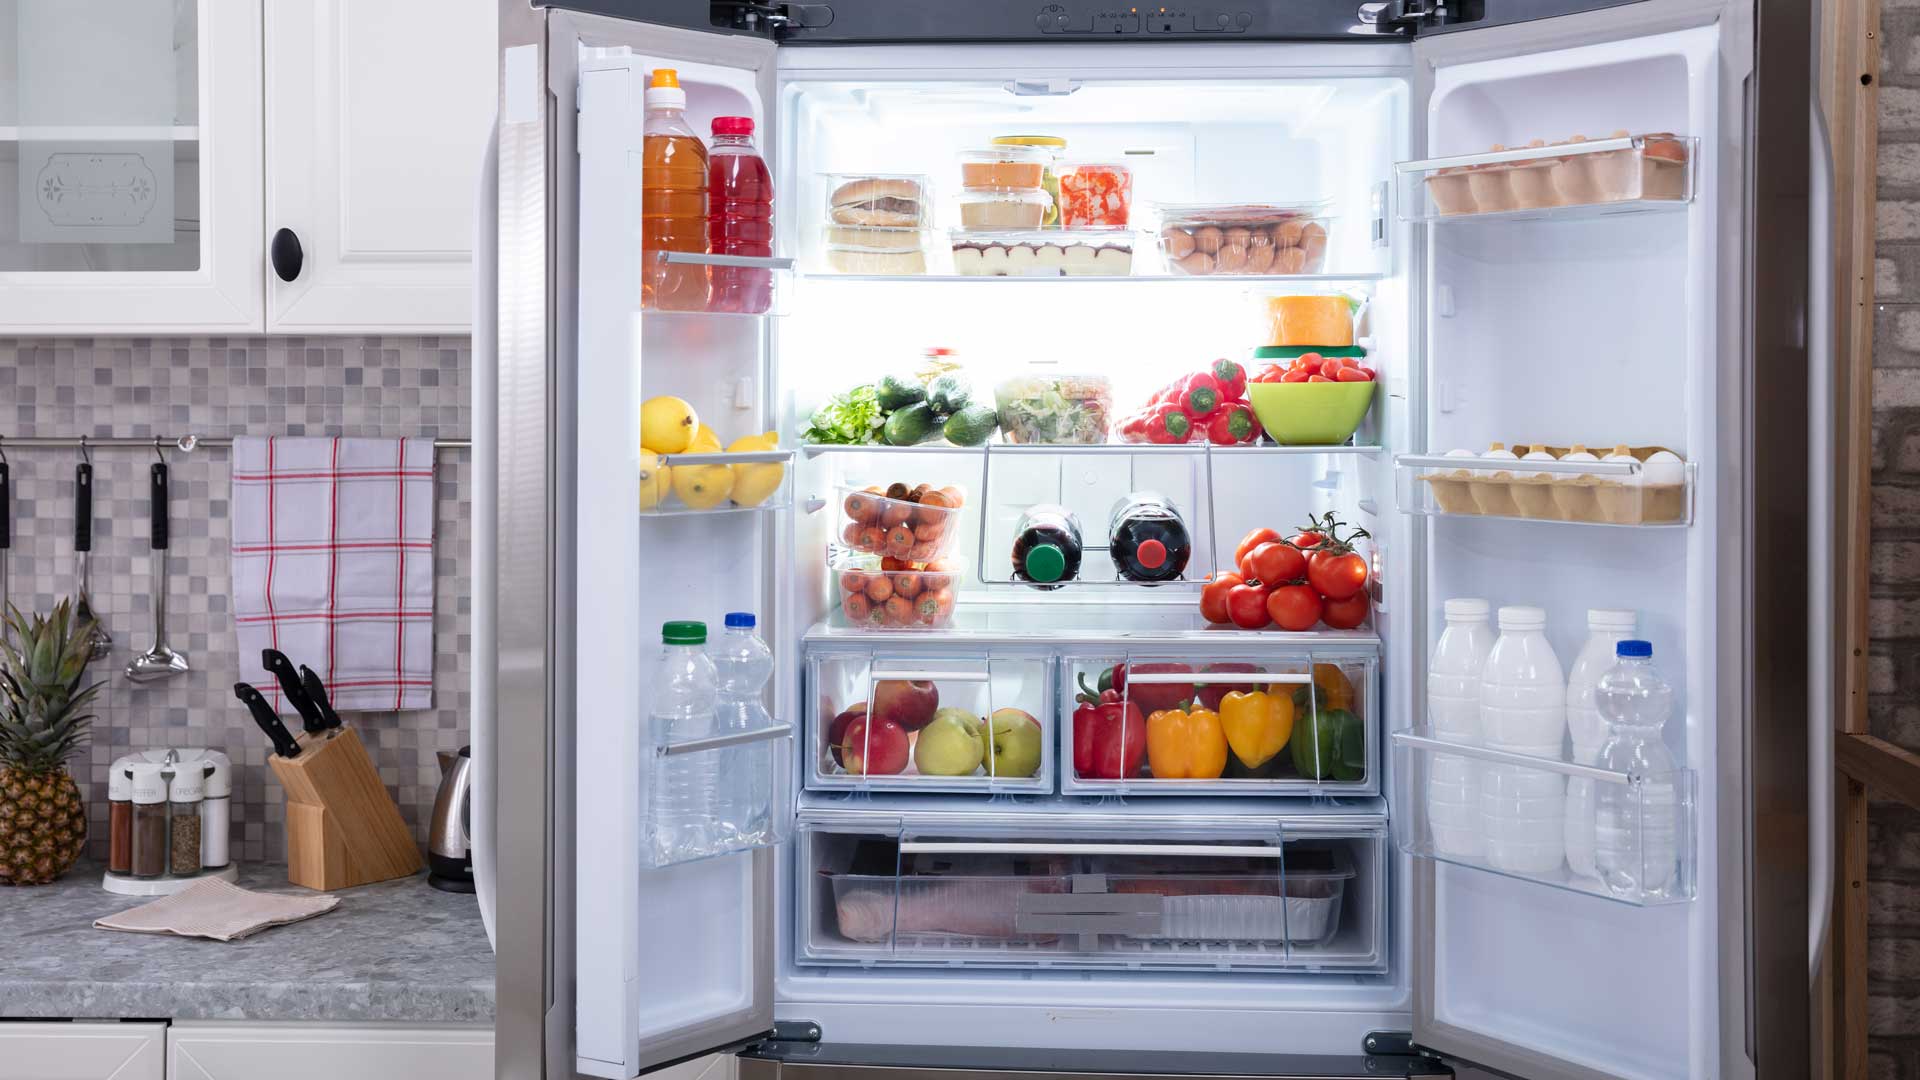
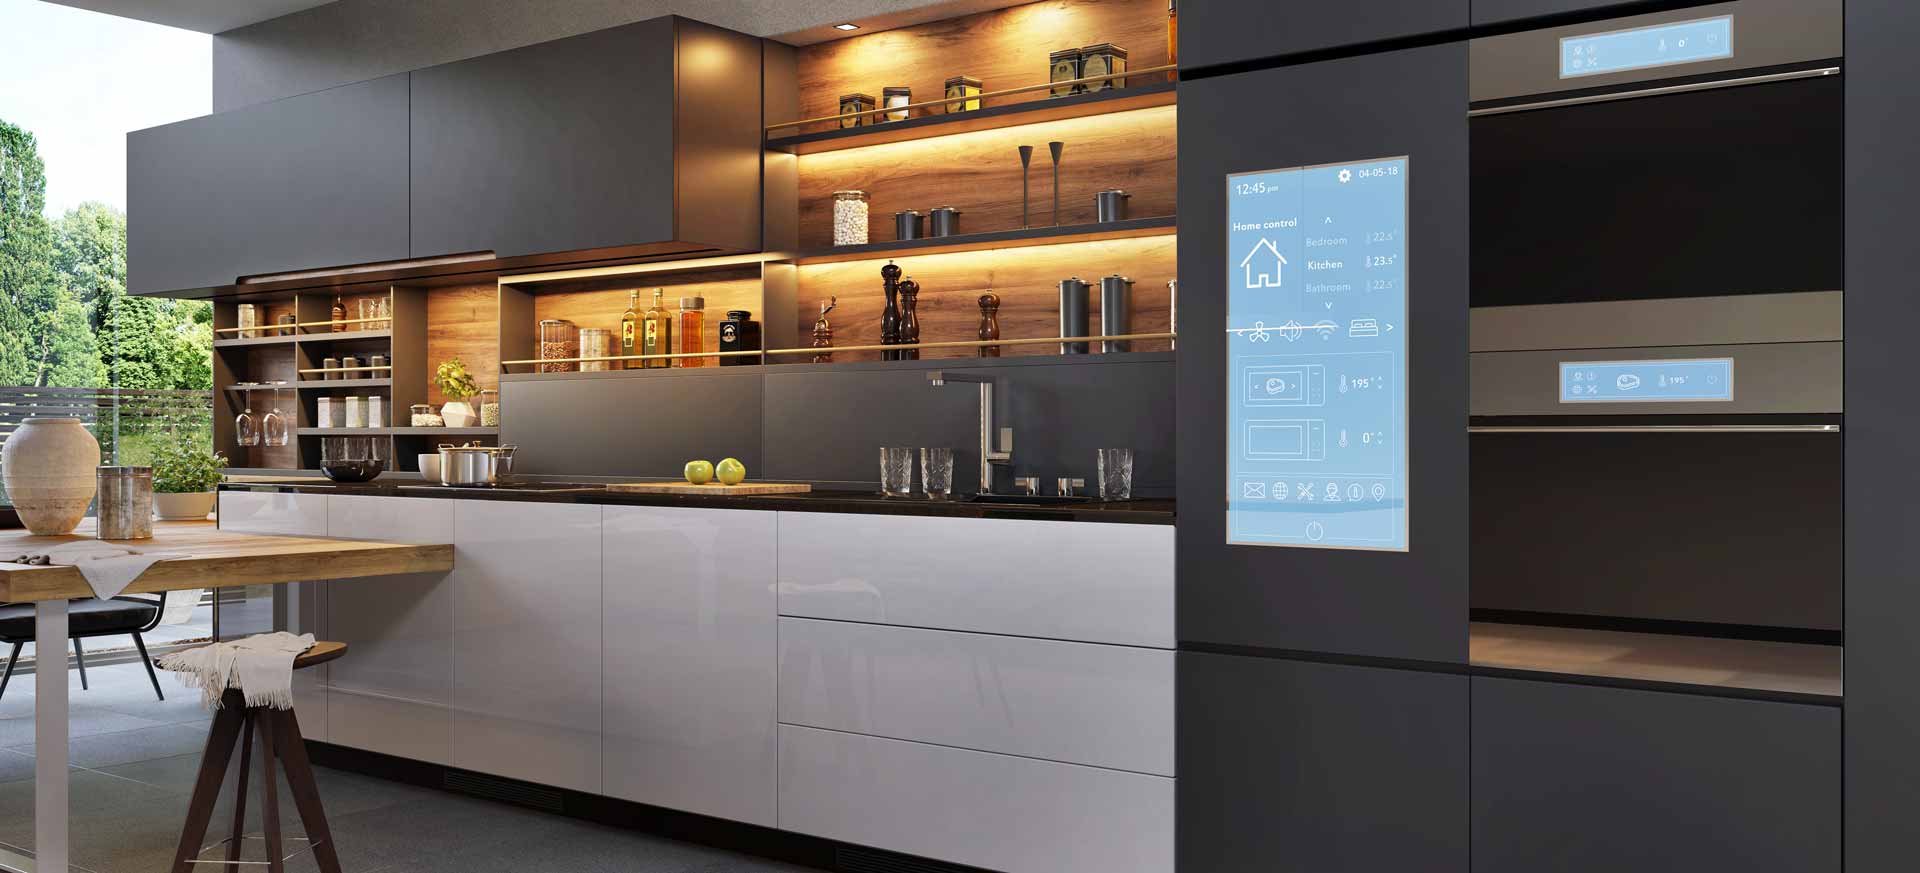
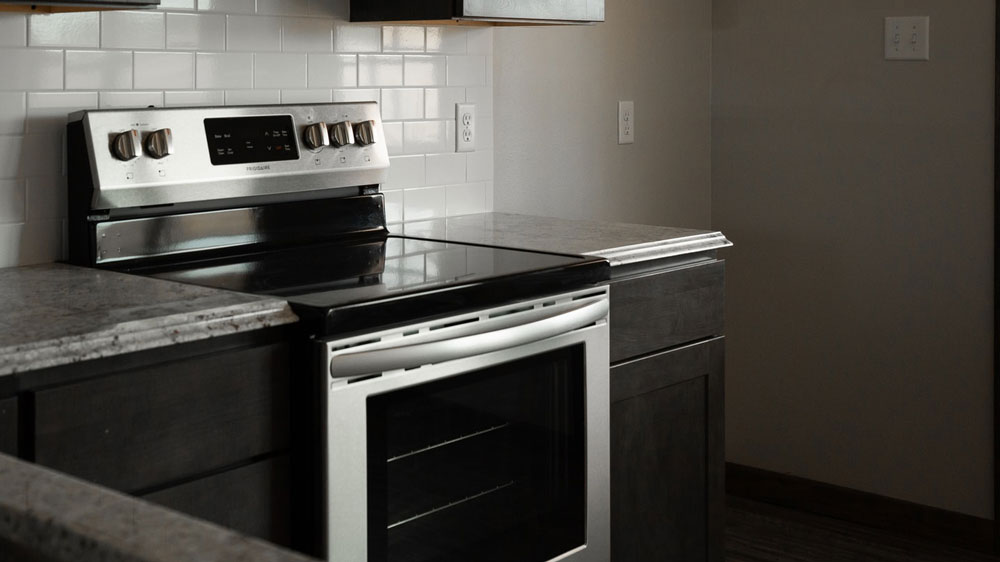
The field of appliance technology is a hotbed of innovation, but many of us don’t really know about it until we’re in the market for a new household appliance. Cooking technology is an area that’s seen a lot of development, but how do you know what the new models do if you’ve never had one?
Read on to get a breakdown of two of the biggest changes in modern cooking: speed ovens and steam ovens. We’ll look at how they work and how they compare to traditional models. Armed with information, you’ll be able to make an informed decision when it comes time to select a new oven for your home.
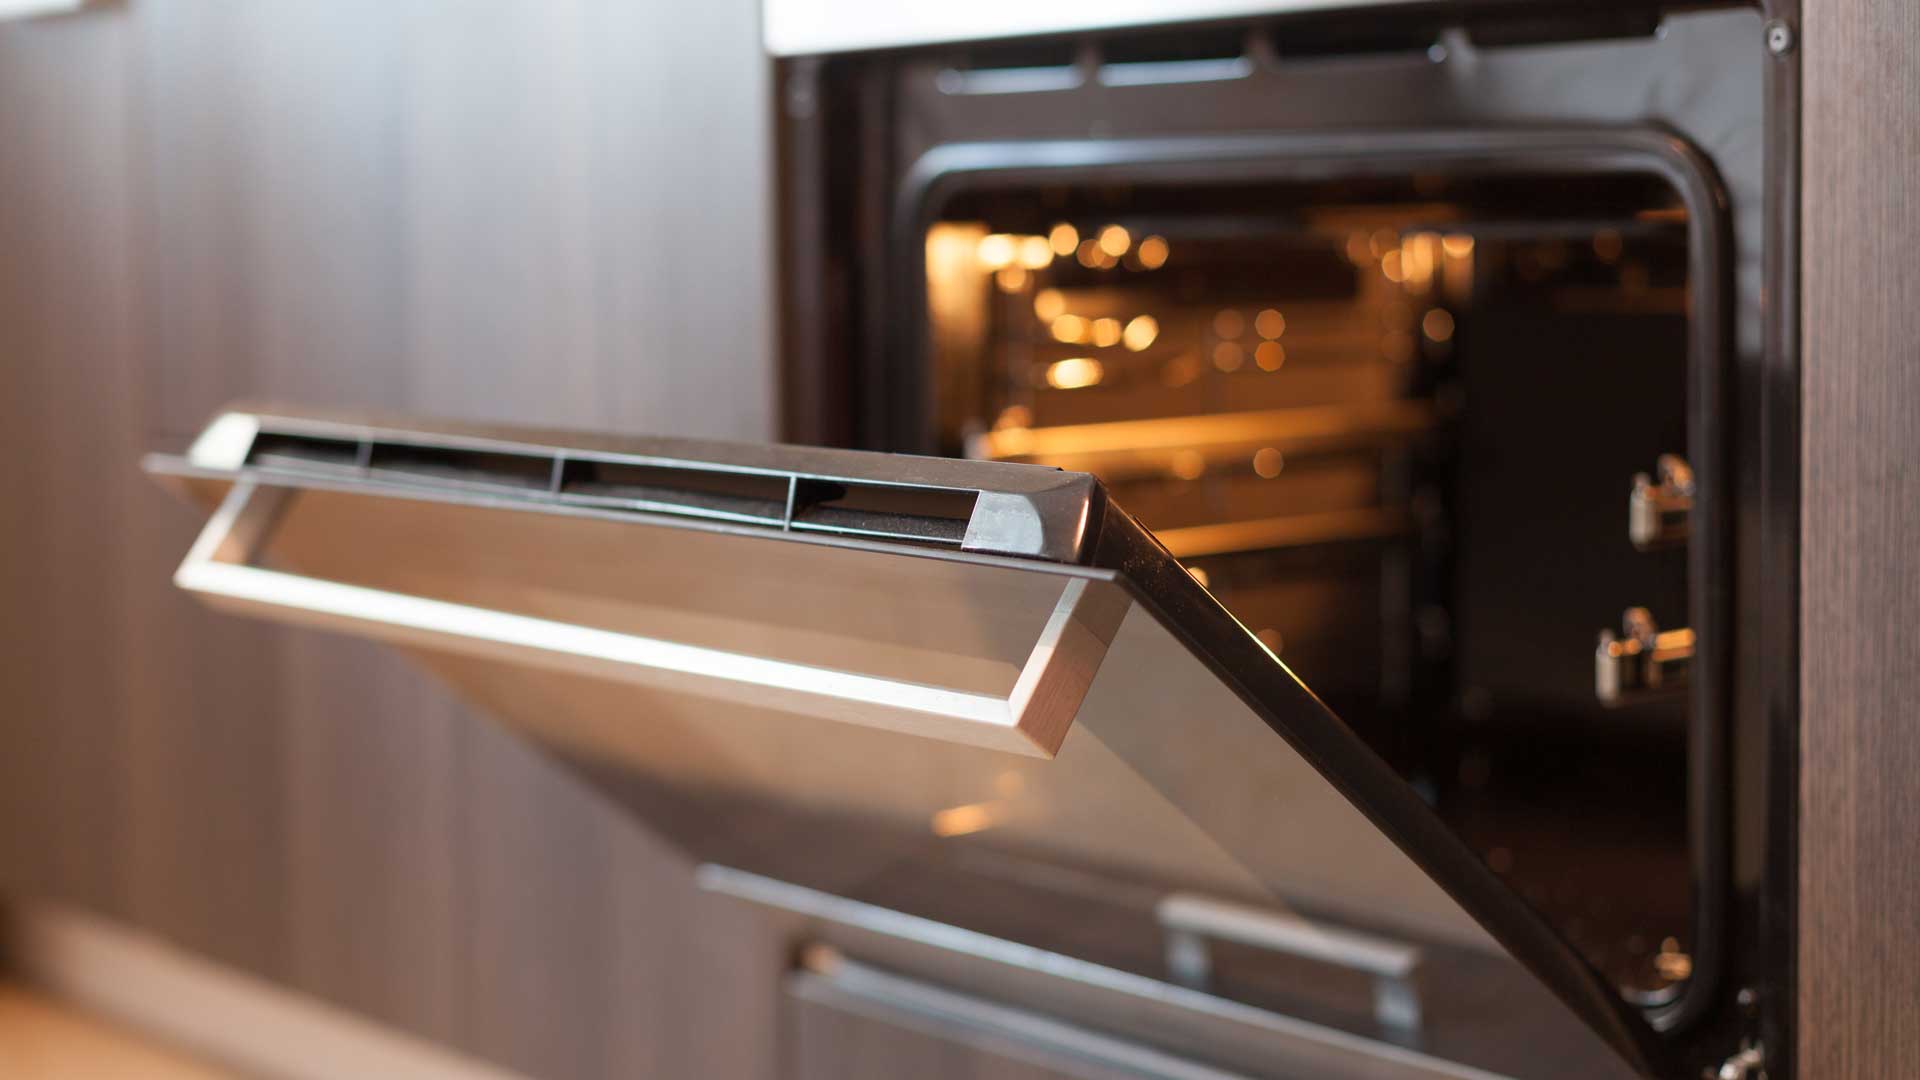
Speed Ovens
The name says it all with this style of oven. Speed ovens use a combination of microwave, convection, and radiant heat to cook food up to 50% faster than traditional ovens.
This can be a game-changer for folks who need to get food on the table fast. Whether you’re entertaining or trying to get the kids fed, going from zero to dinner in half the time (or less!) can be a great thing.
Speed ovens are also known for cooking food evenly—a common issue with some conventional ovens. They’re also versatile, typically having different cooking modes including convection, microwave, and boil.
However, speed ovens also tend to be smaller than traditional models. This means you may need to adapt your cooking style and scope to fit that smaller capacity.
Speed ovens are also much more expensive than traditional models. If cost is a major consideration, that’s definitely something to keep in mind when comparing various styles.
Steam Ovens
Steam ovens, as the name suggests, use steam to cook food. The oven either has a reservoir or is connected via plumbing to a water supply. The water is heated and the resulting steam cooks the food.
Steaming food is known to preserve nutrients and flavor, so that’s a definite pro of steam ovens, especially if you’re health-conscious. They also have additional modes such as convection, broil, and proof, so you can still brown dishes or cook in different styles.
Steam ovens are also stars when it comes to reheating food. While they may not work quite as quickly as a speed oven or traditional microwave, they do work fast and better preserve moisture and flavor.
Like speed ovens, however, most steam ovens are smaller than traditional ovens. They are also much pricier.
Additionally, steam ovens can, depending on the model, require a higher level of cleaning and care than other types. Some styles have drains to help remove water post-steaming, while others don’t. Steam ovens with reservoirs will need to be refilled regularly.
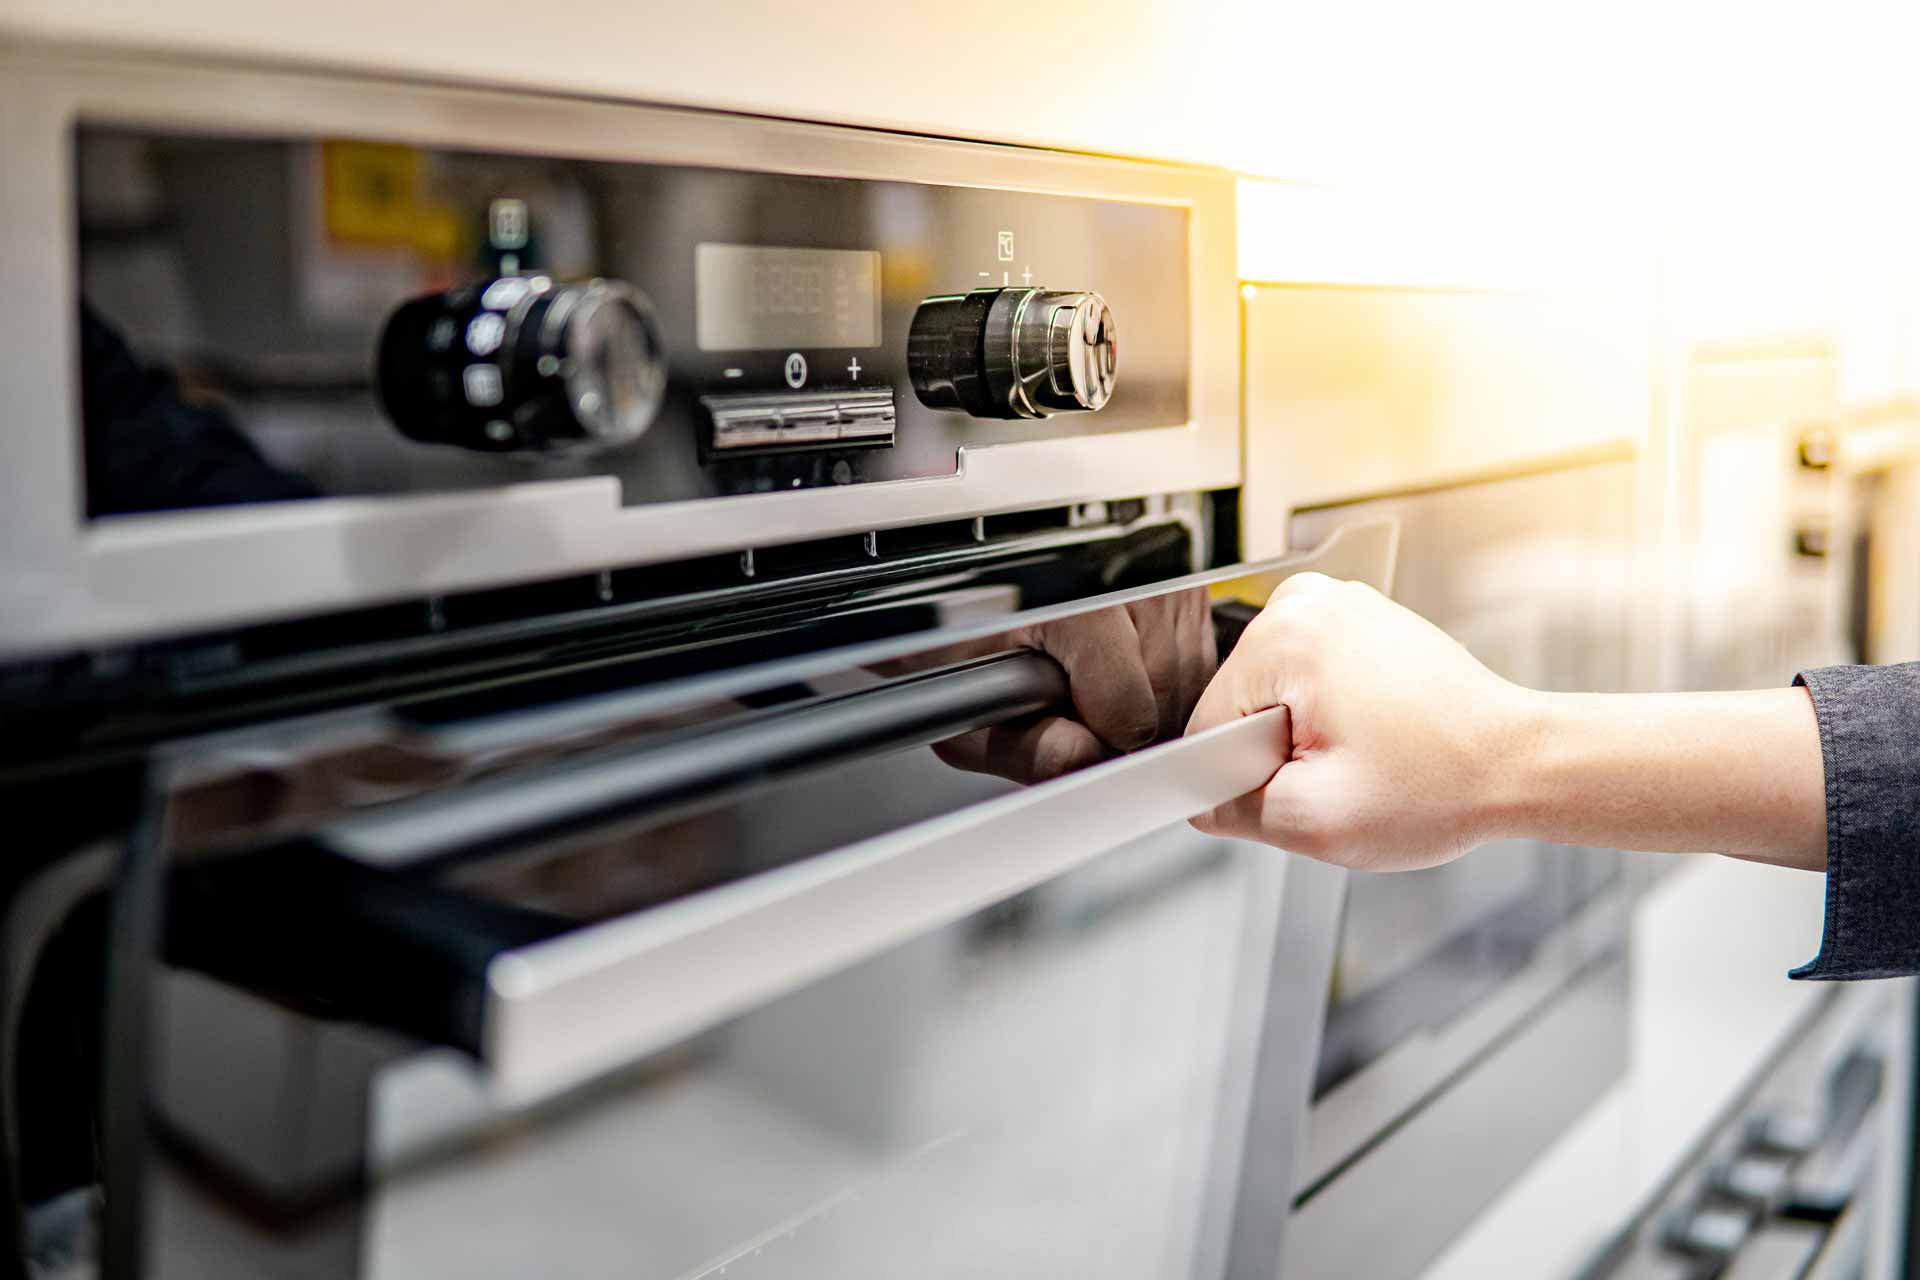
Which One Should You Choose?
There’s no clear winner in the traditional vs. speed vs. steam oven debate. They all have different pros and cons, so it’s up to each buyer’s preference. If efficiency is critical in your household, a speed oven might be a great choice. If you prioritize nutrition and flavor, you might opt for a steam oven.
When you’re in the market for a new oven, it’s worth looking at the options. While tried and true convection styles are familiar, you might find that a speed or steam oven suits your lifestyle even better.
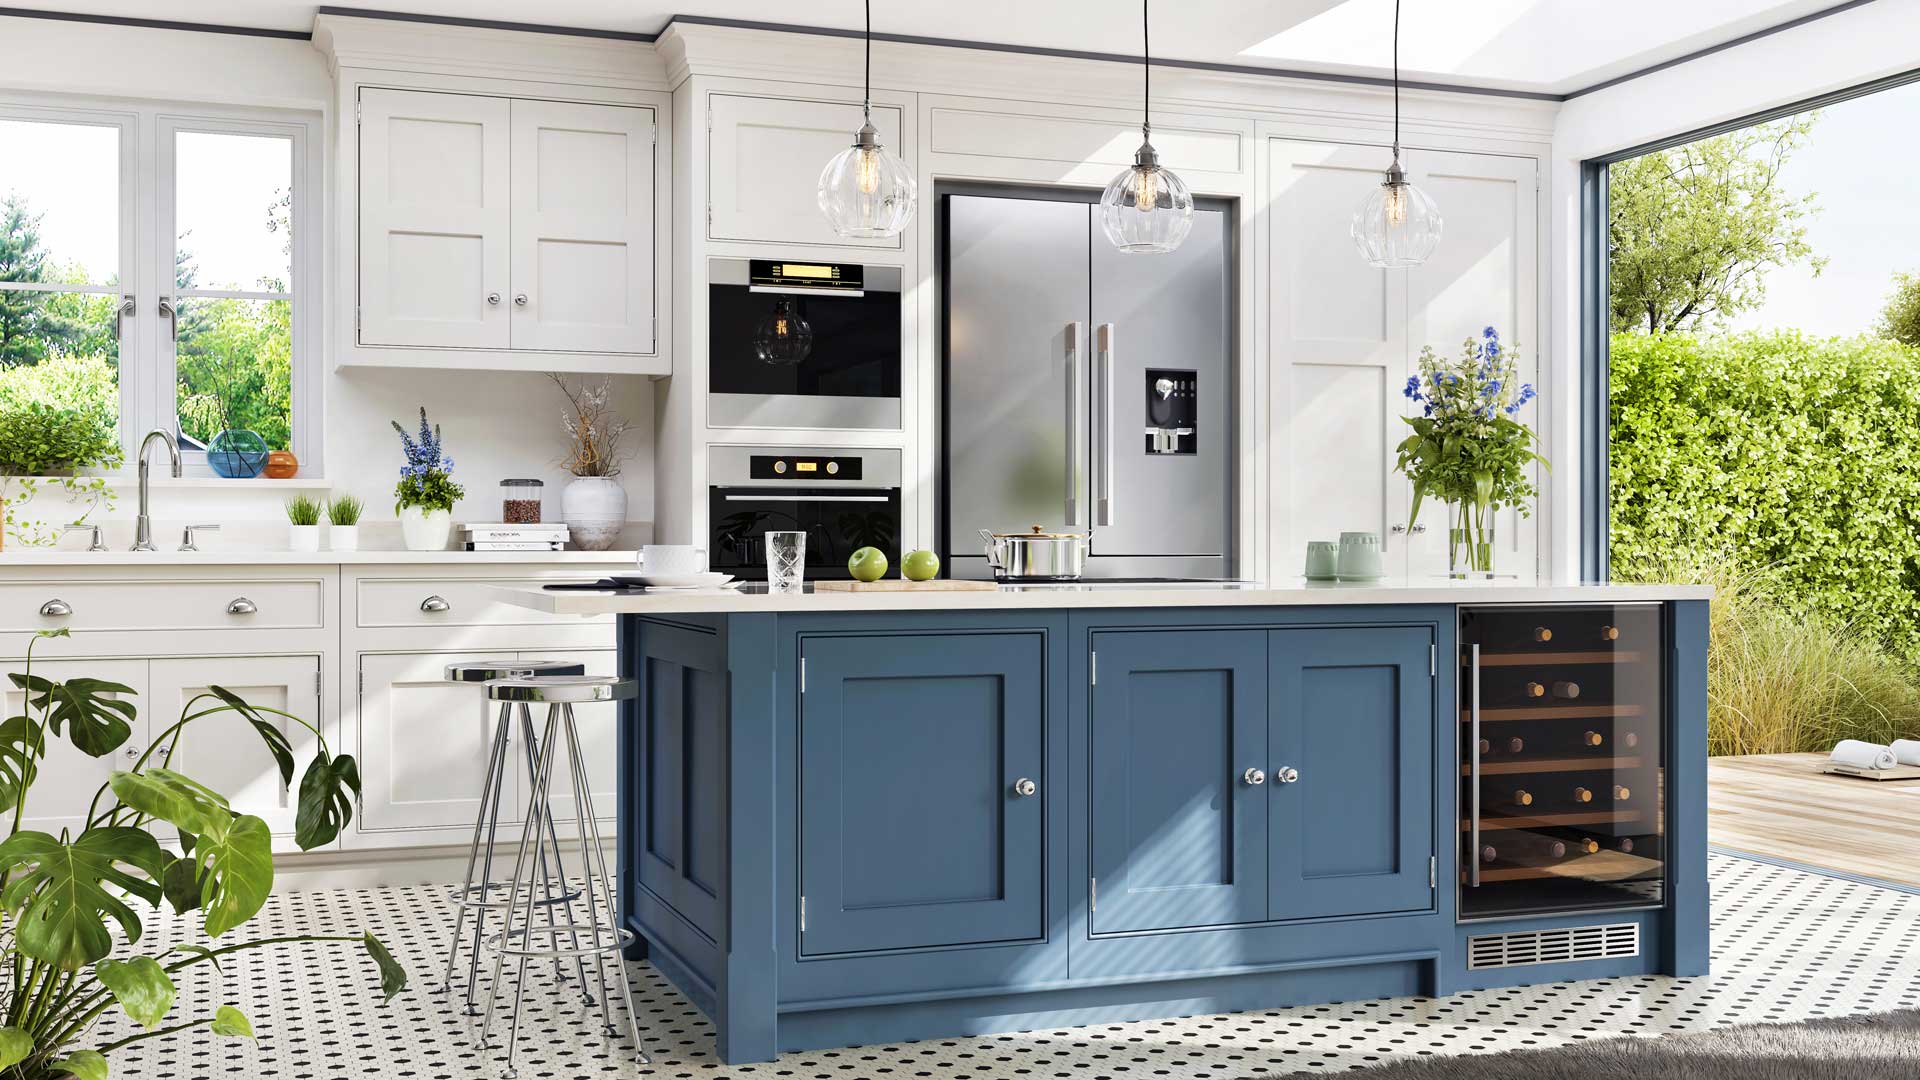
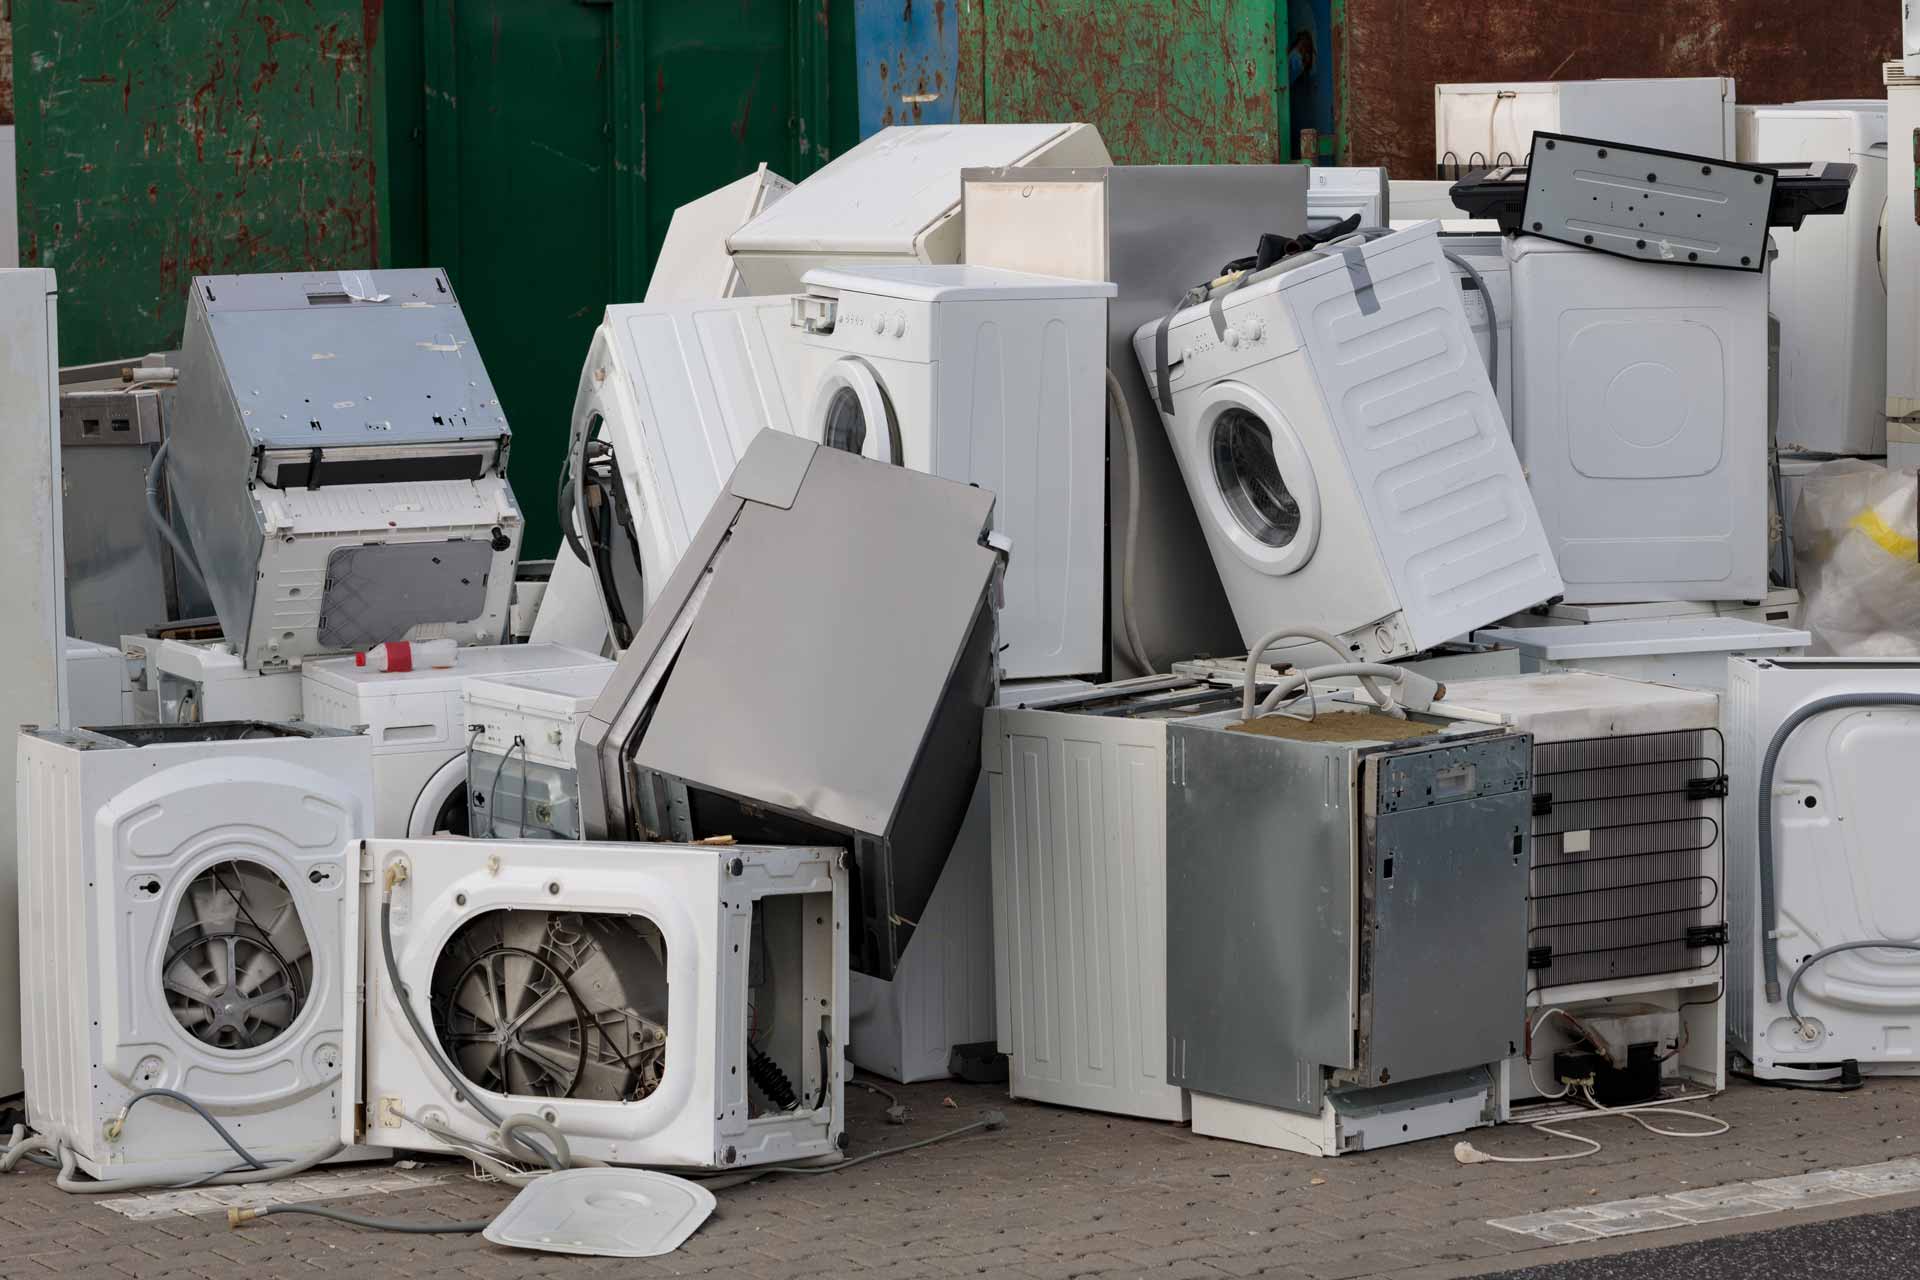
When you need appliance repair help or maintenance in Wilmington or the region, call All Brands Appliance Repair. Our team is well-versed in conventional and cutting-edge appliance technology. With over 46 years of experience, we service traditional and high-end appliances, and all our work is guaranteed. We offer weekday and weekend appointments and we’re available 24/7 for emergency service. All Brands Appliance Repair—Reputation You Can Count On.