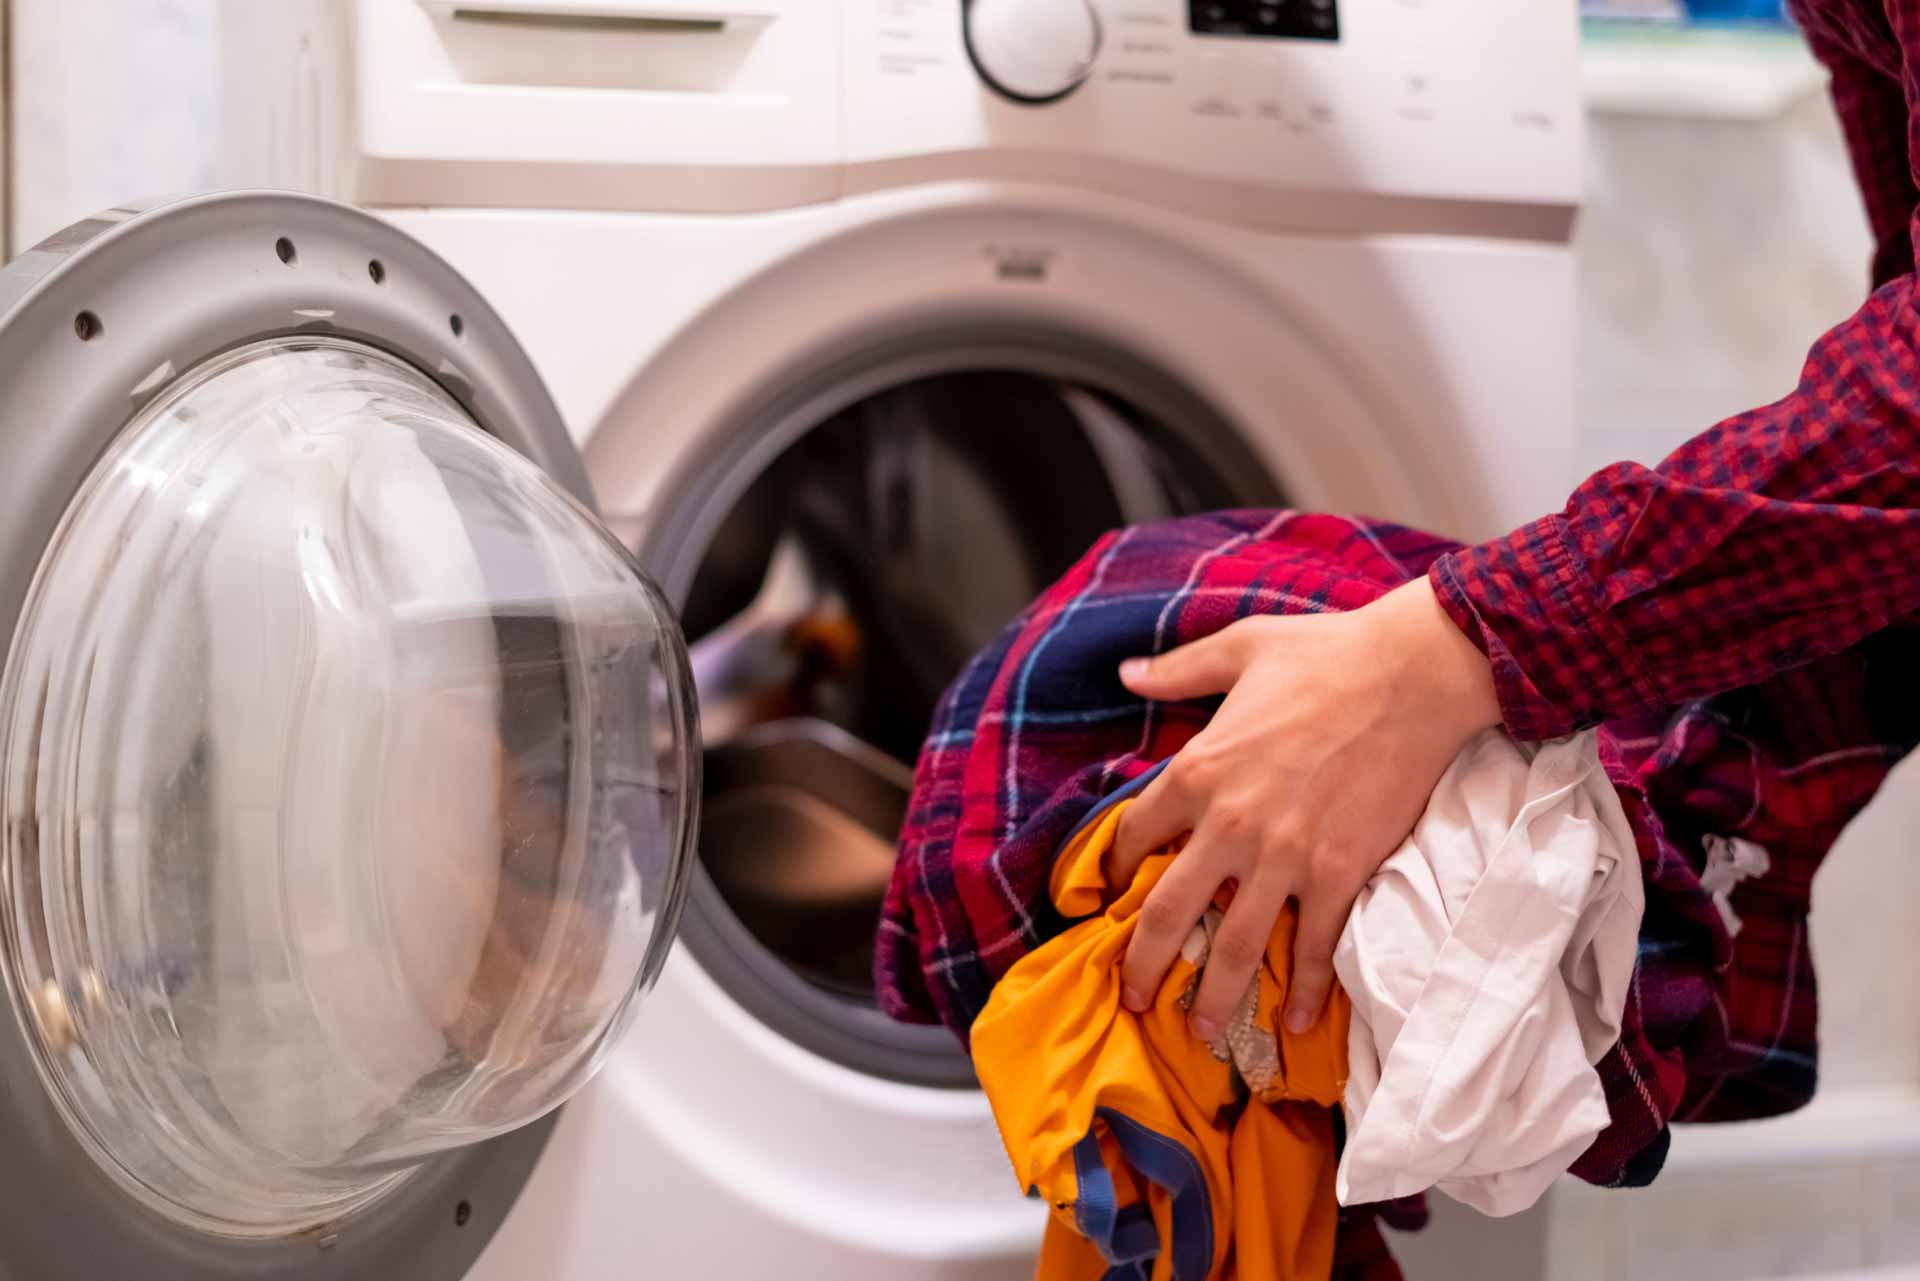
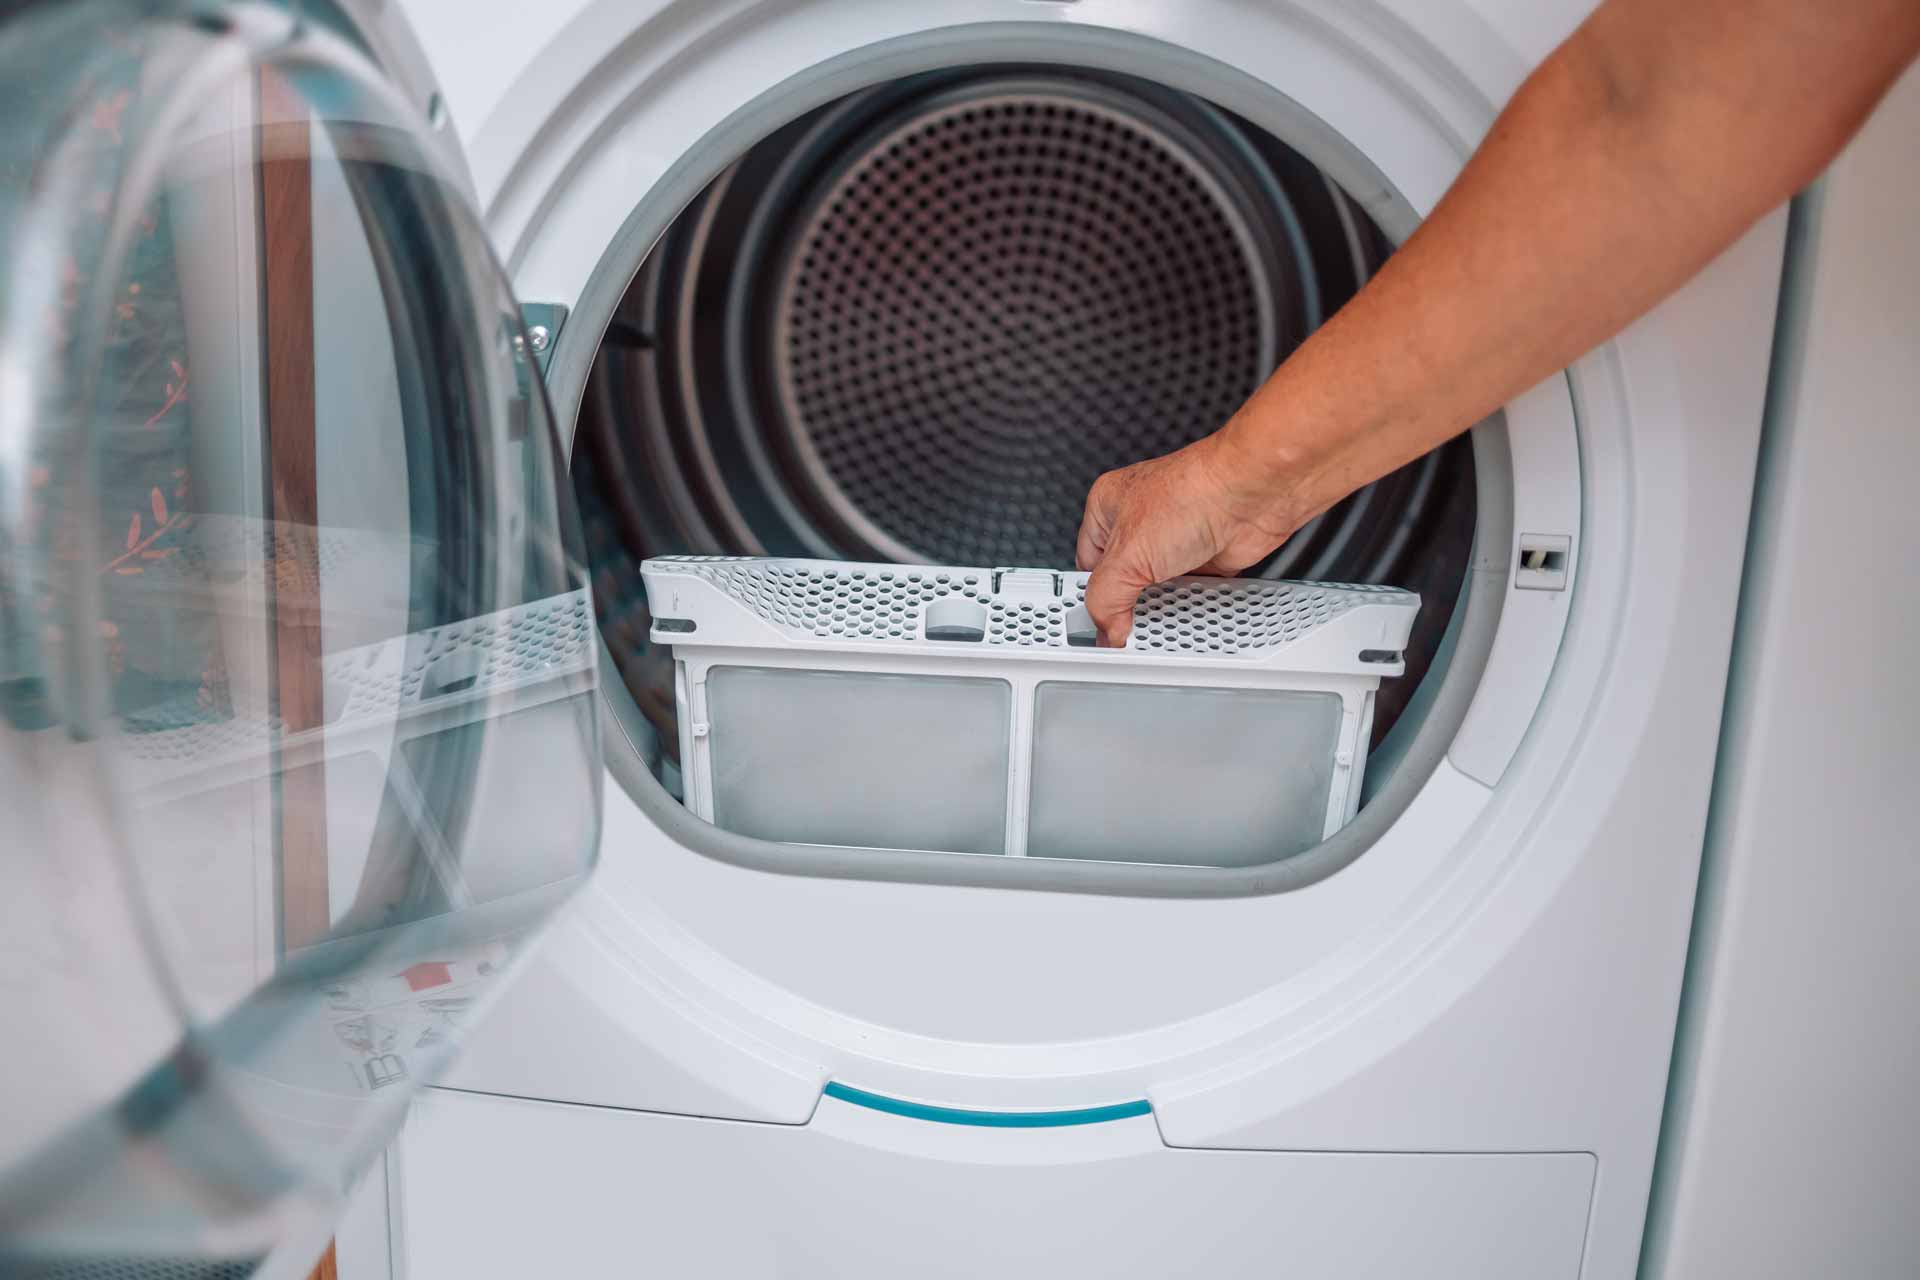
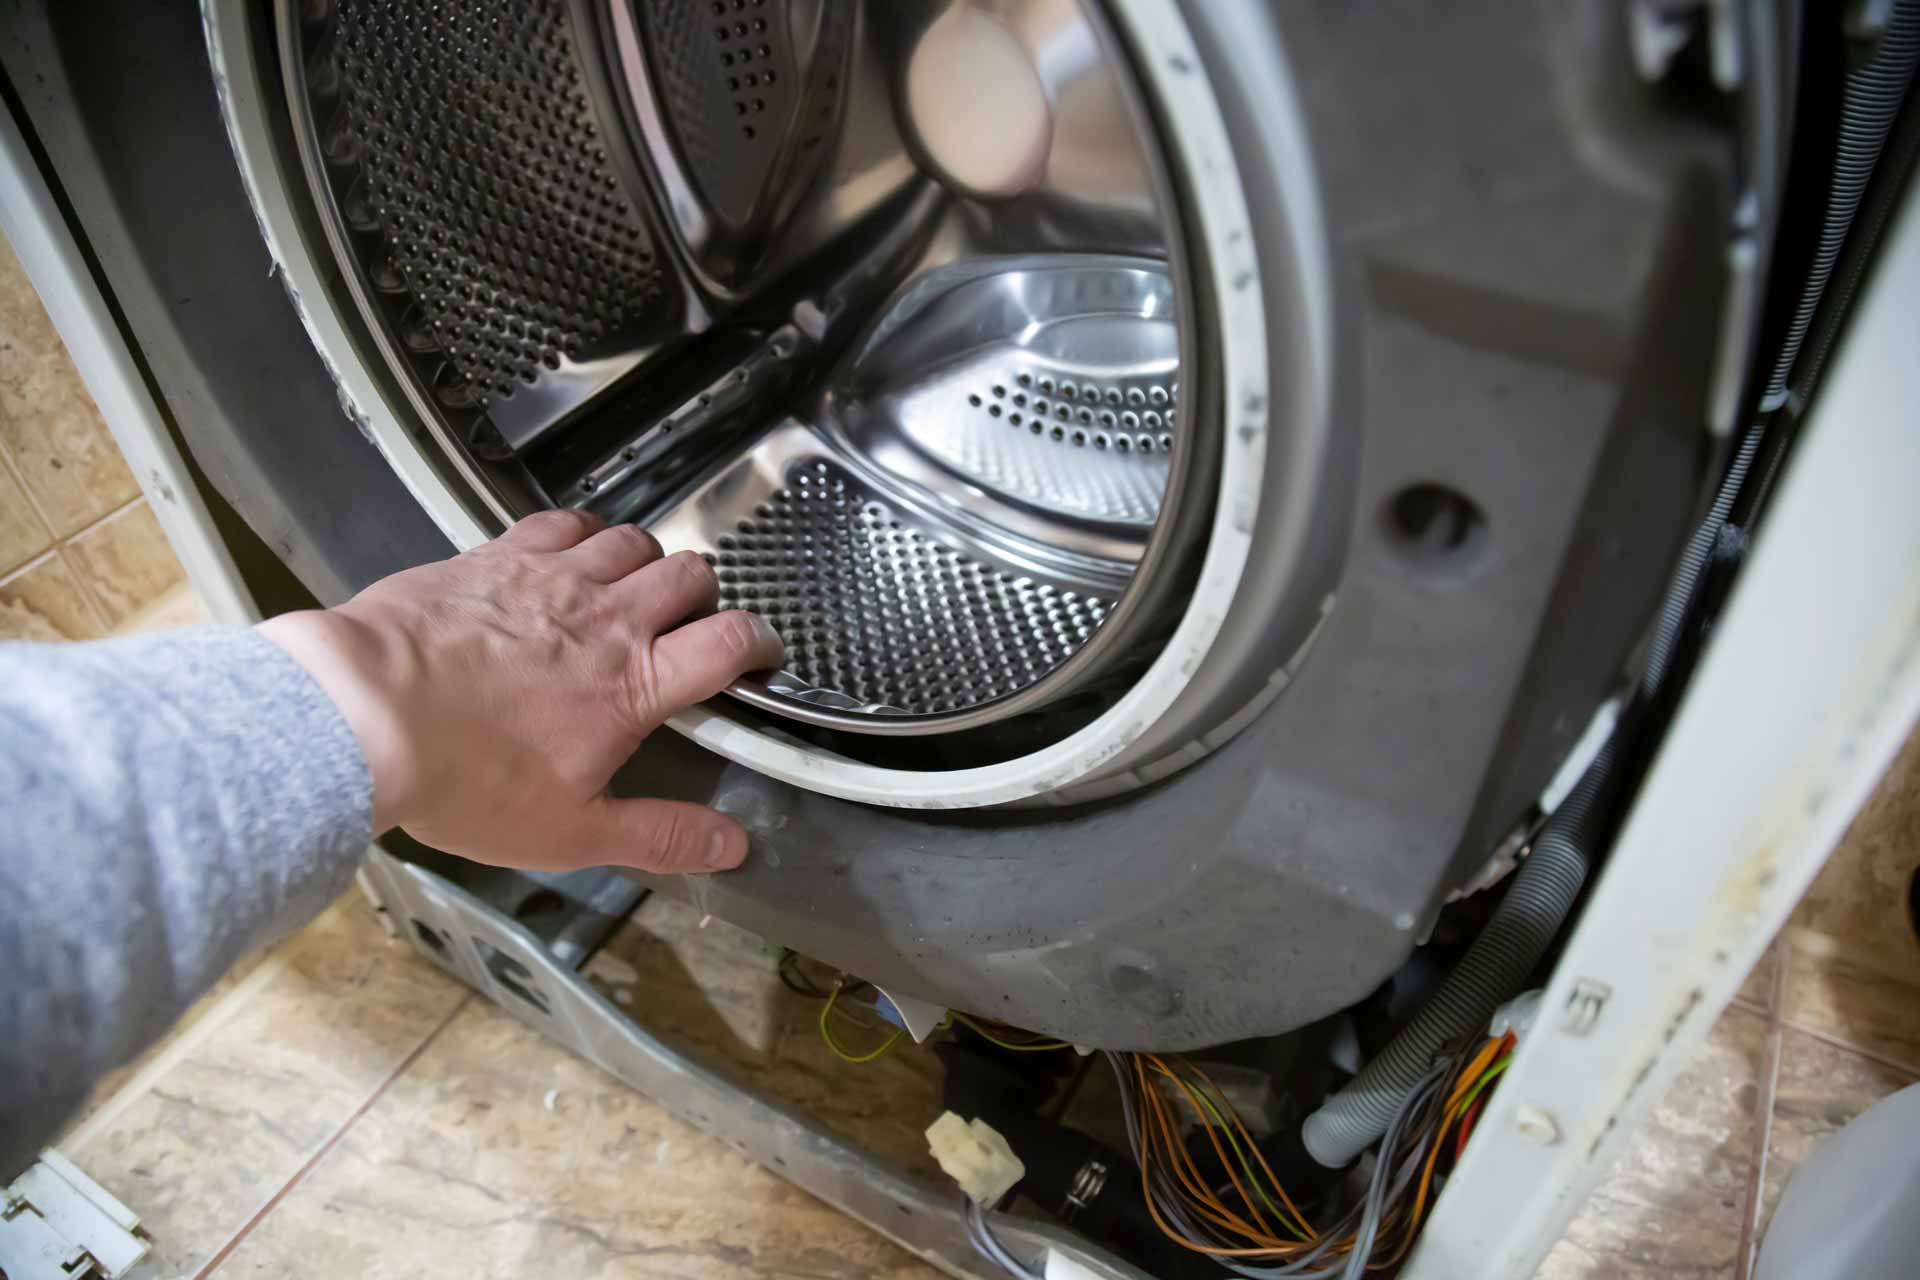
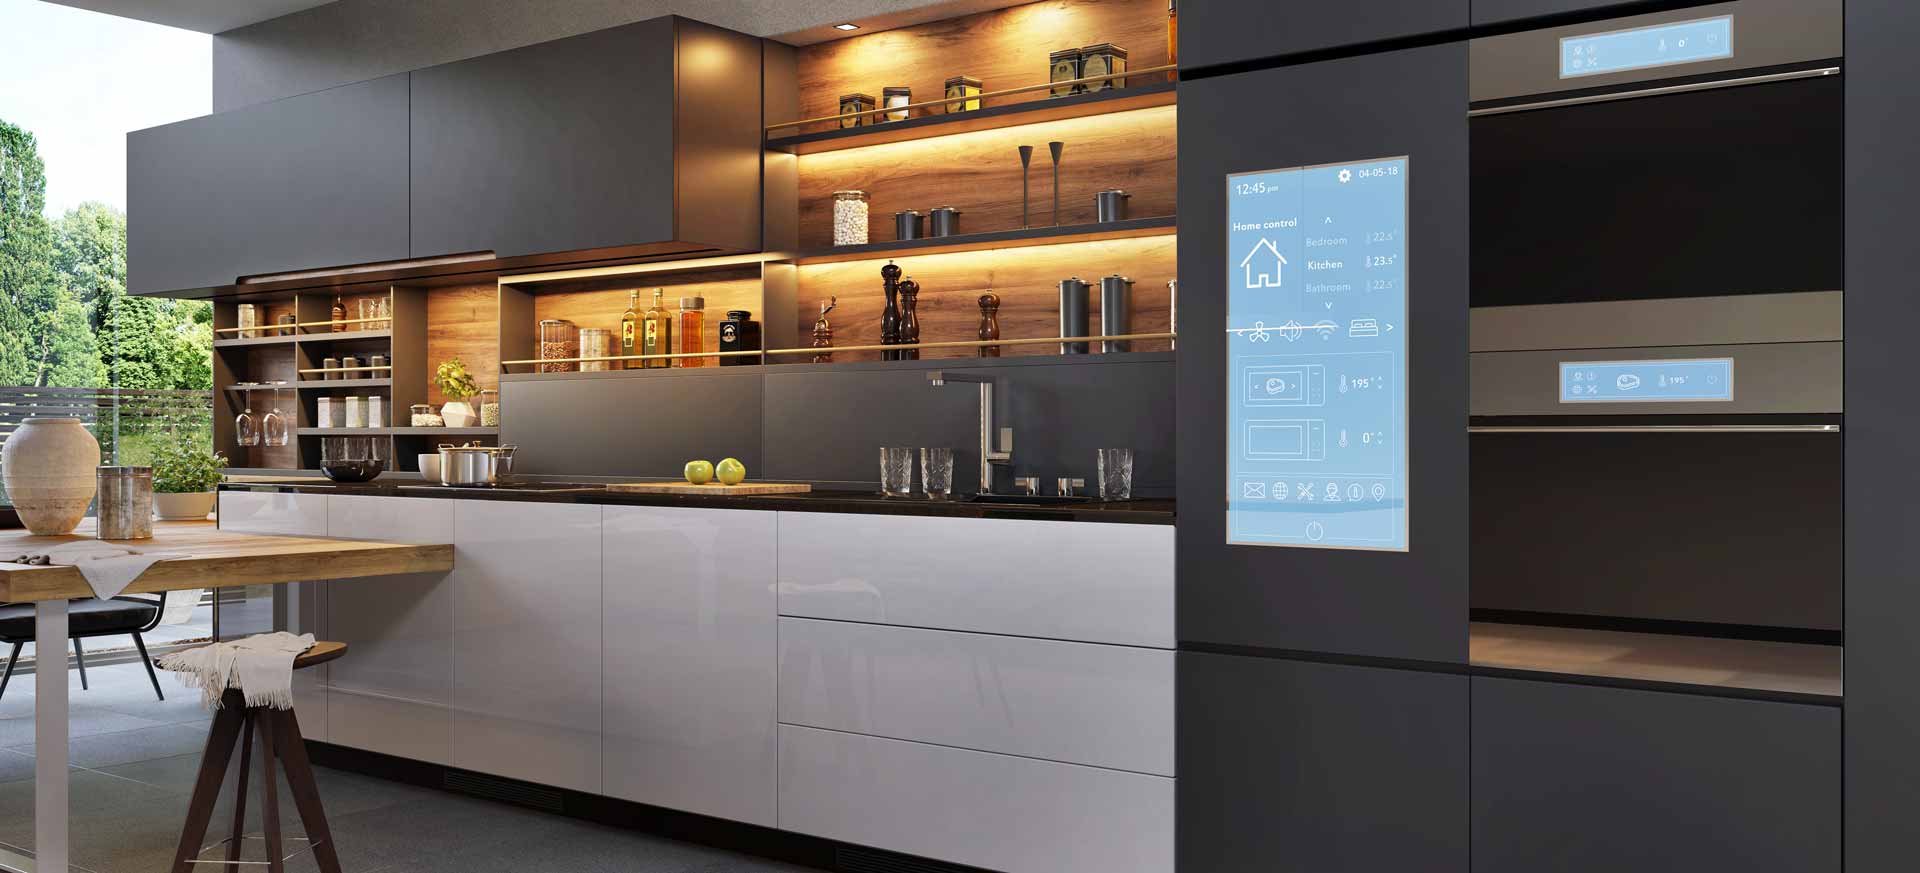
Advances in technology are moving faster than ever before, and our homes are no exception. Smart appliances are becoming more and more common and are primed to be the gold standard in the home appliance market. All Brands Appliance Repair is on the cutting edge of this appliance revolution. We’re here to help explain the ins and outs of smart appliances and offer expert repair and maintenance services in Wilmington and the region.
What is a Smart Appliance?
Smart appliances feature integrated technology that allows them to:
- Connect to the internet
- Be controlled remotely
- Optimize energy efficiency
- Offer increased functionality
In a nutshell, you can instruct smart appliances to run specific tasks and you can control them from your smartphone—even when you’re not home. From your refrigerator ordering groceries to your oven preheating while you’re on your way home, your smart appliances can help you run your household from wherever you are.
Key Benefits of Smart Appliances
There’s a reason smart appliances are gaining in popularity—and it’s not the novelty alone. Just as traditional appliances revolutionized home life in the past, smart appliances are making life easier and better today.
- Connectivity saves time and streamlines tasks. When you can automate tasks and control your appliances remotely, you get to spend more time living and less time pressing buttons.
- Energy efficiency is front and center. You can set up your smart appliances to optimize energy consumption and you have increased control over when they run. This can help lower energy costs in both the short- and long-term.
- Advanced features mean better functionality. Smart appliances aren’t just special because they’re connected to the internet. They’re also top-of-the-line machines that offer even more options and features than ever before.
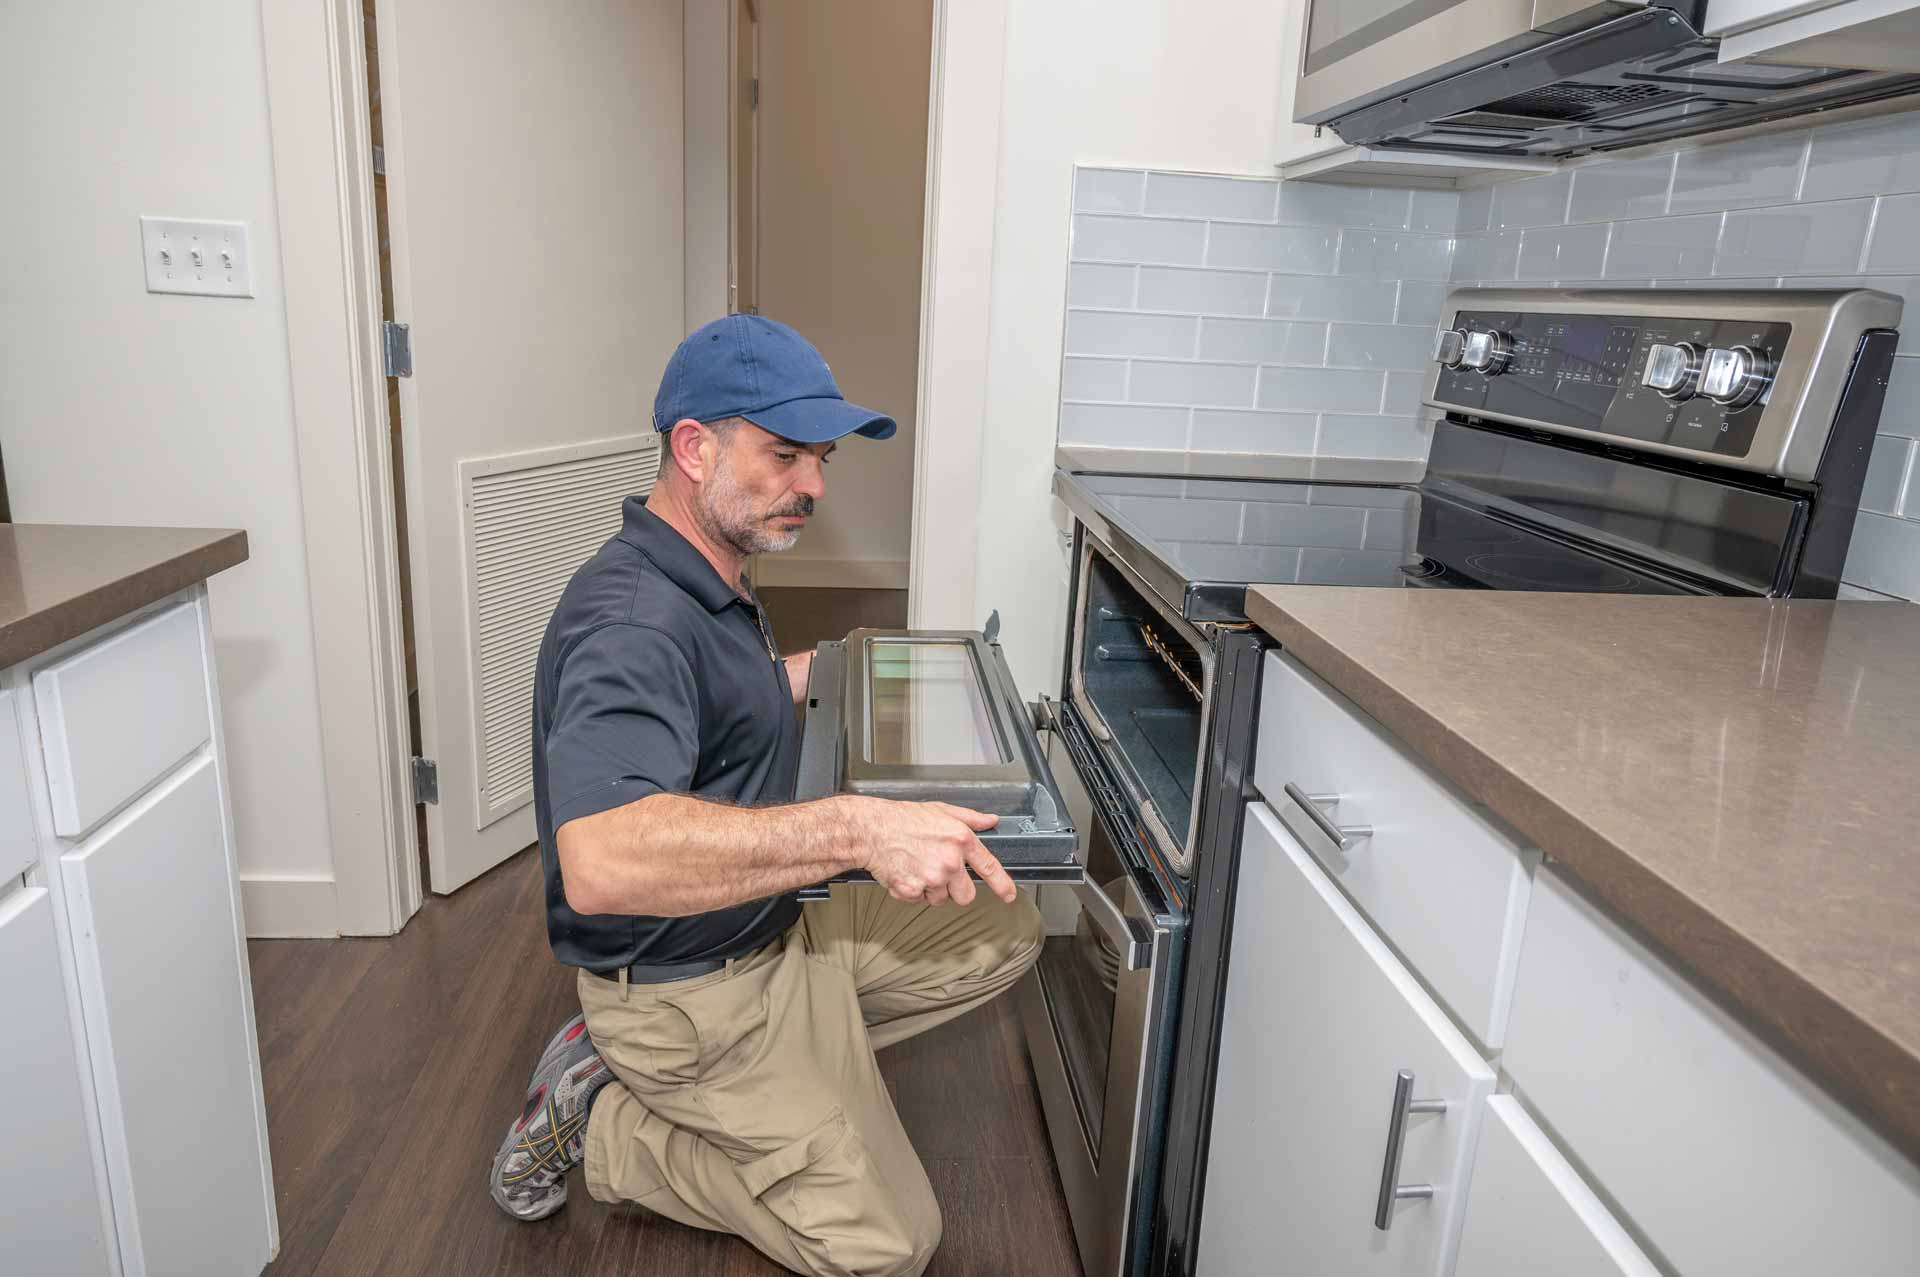
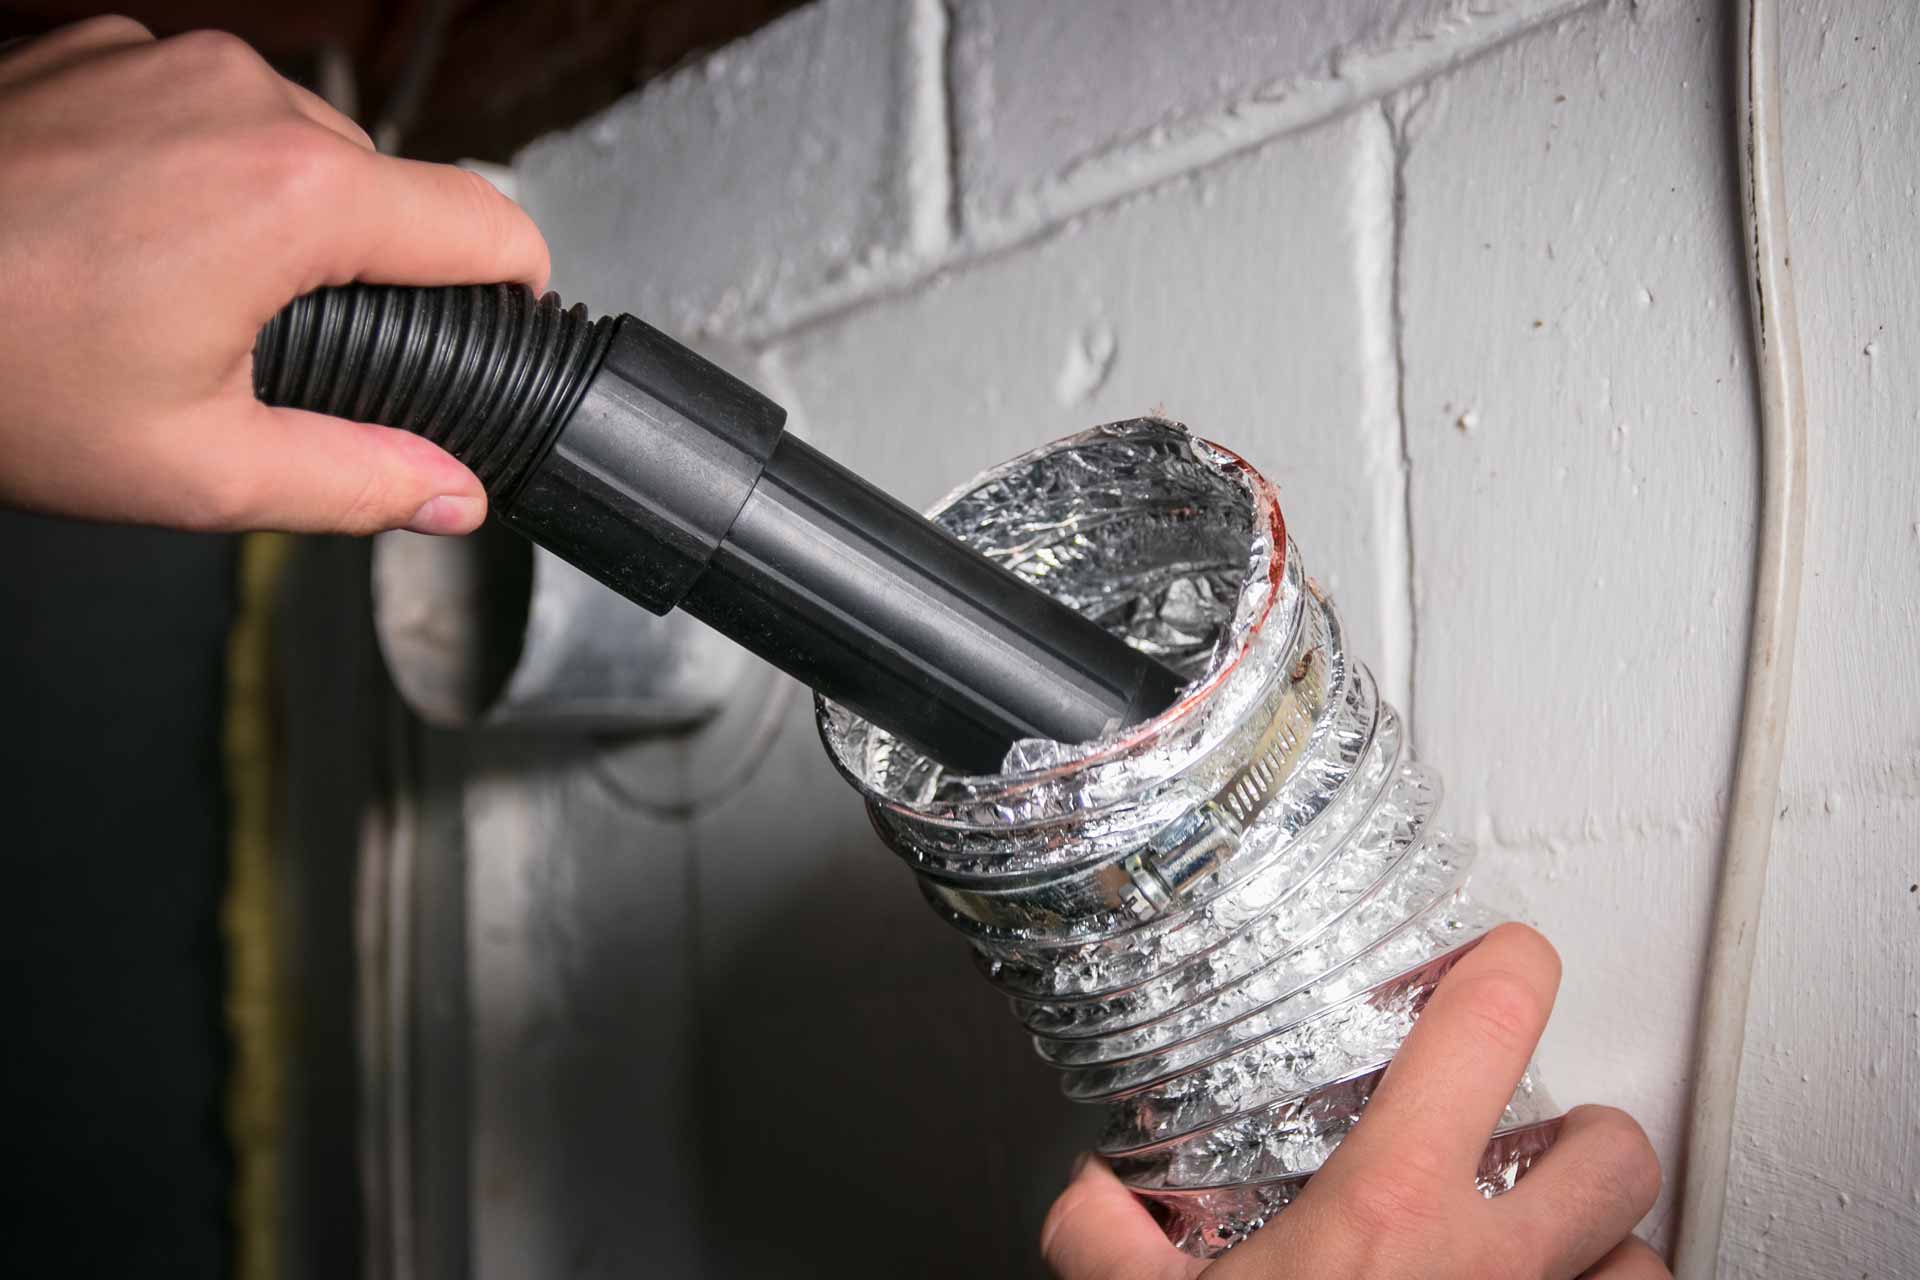
Smart appliances are the way of the future—and All Brands Appliance Repair is here to help with all of your smart appliance repair and maintenance needs in Wilmington, Cambridge, Lexington, and beyond. Our team has a wealth of experience in the smart appliance field and we’re constantly adding to our knowledge base as the industry evolves. Call us today for expert smart appliance repairs or service. All Brands Appliance Repair—Reputation You Can Count On!